
The young man next door has a compound bow.
Apparently that requires him to have a target set up right next to our house, and to “thunk” arrows for hours every day.
I am really …. *twitch* …. really *twitch* ….. not enjoying it!
The young man next door has a compound bow.
Apparently that requires him to have a target set up right next to our house, and to “thunk” arrows for hours every day.
I am really …. *twitch* …. really *twitch* ….. not enjoying it!
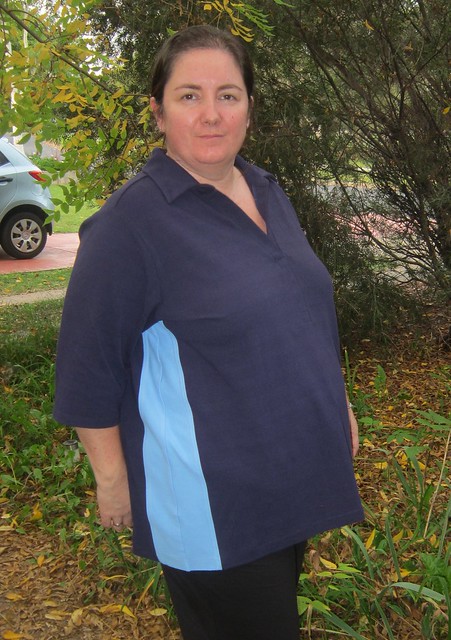
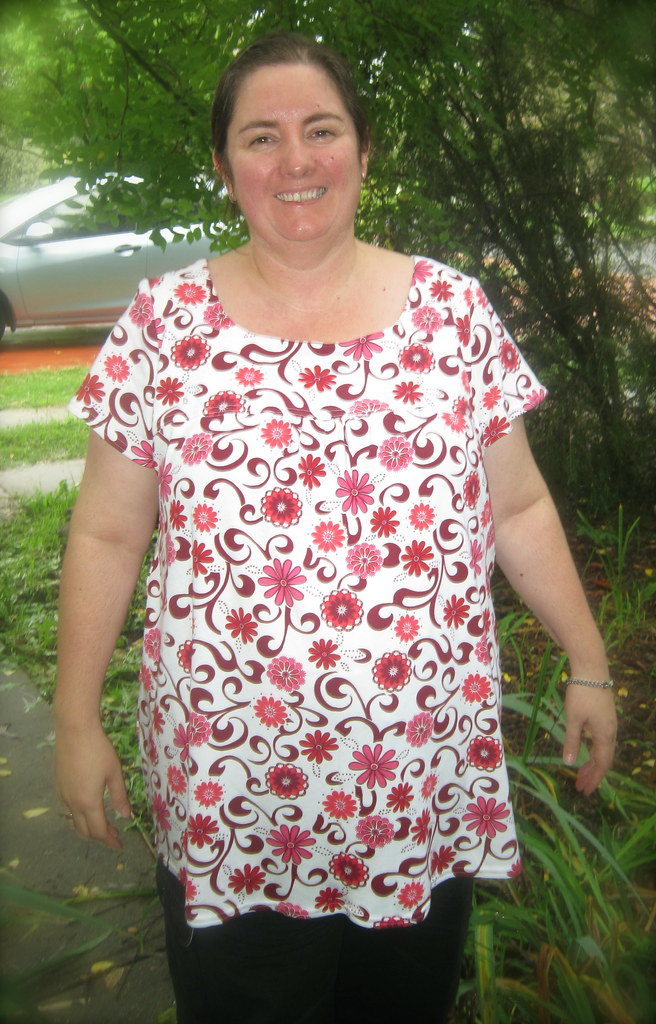
I bought these polo tops for myself, because I am tired of uncomfortable dress shirts at work. they fitted beautifully through the bust and arms, but were a smudge too tight across the belly (its gravity i tells ya!)
So, since the work shirt that the rest of the staff wear has a light blue panel down the sides, I figured I would slice it up the side and insert my own light blue panel, but taper it so it gives me more room around the middle. The panel is about 2 inches under the arm and down the side bust, but tapers out to just over 5 inches from about the waist down, giving me comfort room. I did the panels in two pieces, to match the style of the regular uniform, and also to make it easier to coverstitch it down.
Along with the usual bread (for me) and naan (for dinner tonight) I spent some time today making pikelets. Â I always plan to have left overs for lunch boxes, but that assumption should only be applied when the boy isn’t home. Â Growing teenagers tend to eat when their eyes are open, so of course even a double batch doesn’t really touch the sides in our household.
So first …. the recipe.
1 cup of self raising flour, 1 tbsp sugar, pinch salt, 1/2 tsp vanilla, 1/2 tsp baking powder, 1 cup milk, 1 egg, Â 1 tbsp butter (melted).
1. Â mix together dry ingredients
2. Â mix together wet ingredients
3.  mix together wet and dry ingredients  (wow this is complex huh?)
4. Â mix well until smooth
5. Â allow to stand for at least 20 minutes
6. Â drop tablespoonfuls ont a greased pan. Â wait for bubbles, turn and cook other side
7. Â remove to a plate
8. Â eat with jam and cream (optional)
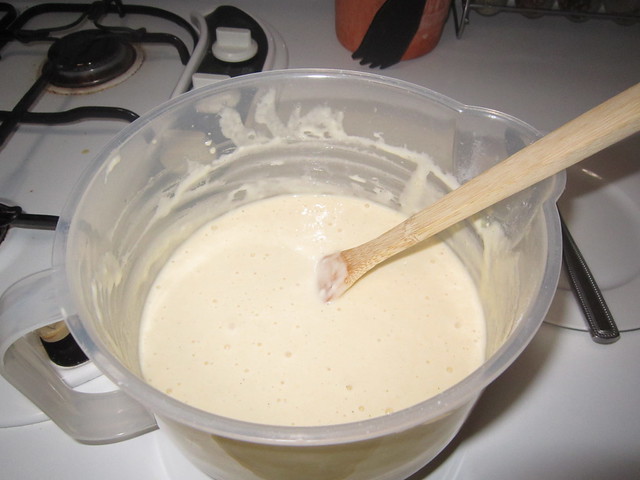
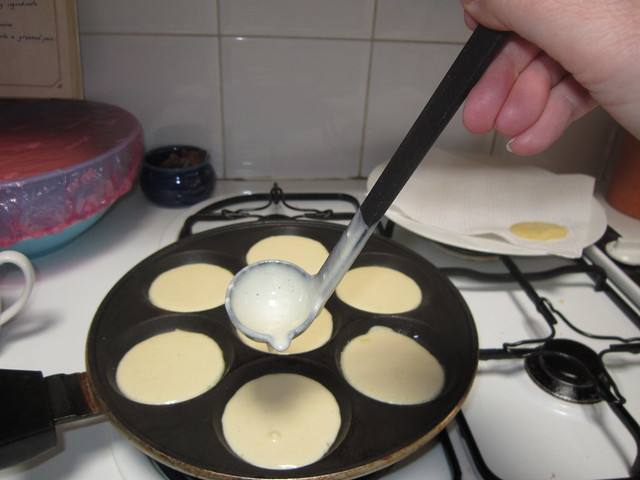
I am not Pioneer Woman, so I didn’t photograph the ingredients, but I tend to think my readers are sensible, intelligent types …. who can read a recipe. Â Here is the mixed batter …. you may not see them, but the tiny flecks aren’t fly poo, they are vanilla seeds. Â My new love is vanilla bean paste …. gorgeous stuff.
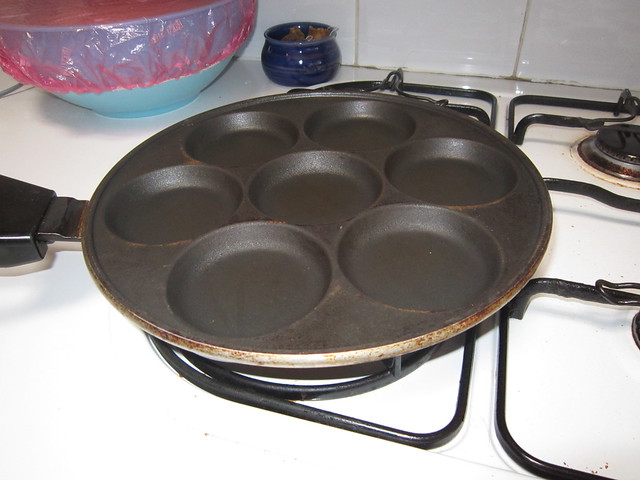
This adorable thing is a Bessemer Pikelet Pan. Those holes ensure that my pikelets are uniform, and therefore I look like a legend.
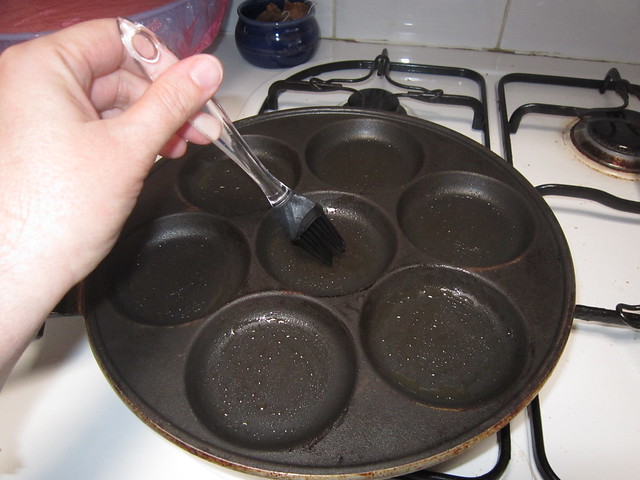
And this is my groovy baby pastry brush. Made of silicon, doesn’t melt onto the pan, can go in the dishwasher.

Basting the pan with melted butter is not necessary but oh so yummy. I am good and don’t do this for every lot of pikelets, otherwise it would not be very healthy.
Testing the pan …. this is to be sure the heat is high enough, and how the batter goes, as results can vary. This one usually ends up a bit doughy, but who cares, since I usually eat it before it gets a chance to cool down

Time to start cooking. Fill the holes to approximately 2/3rd’s full, or drop a tablespoonful onto a greased pan. That spoon I am using is my chocolate making spoon, but it measures out the perfect amount.
Once bubbles appear (only a few, not the whole surface), turn and cook the other side.
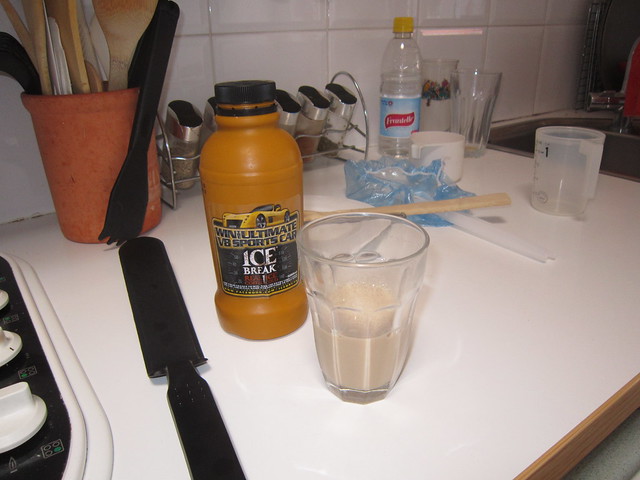
While each batch is cooking, indulge in your favourite addiction …. this is mine. My world would end if I didn’t have this
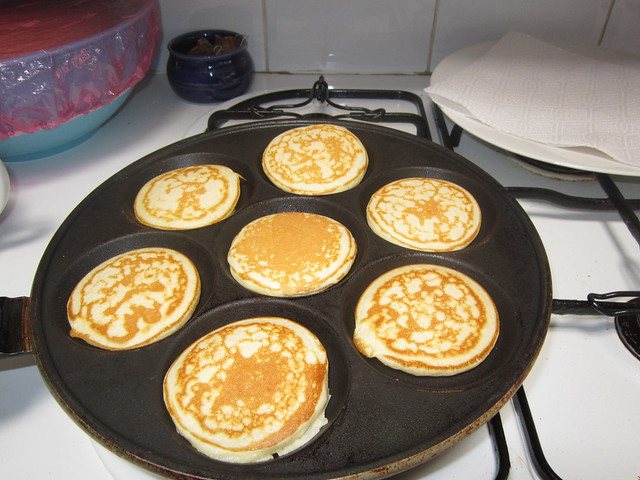
Pile the cooked pikelets high on a plate. You will notice the ones that are speckled, and some that are a uniform colour. The speckled ones are when I have basted the pan with butter, the plain are what you get with the non-stick surface.
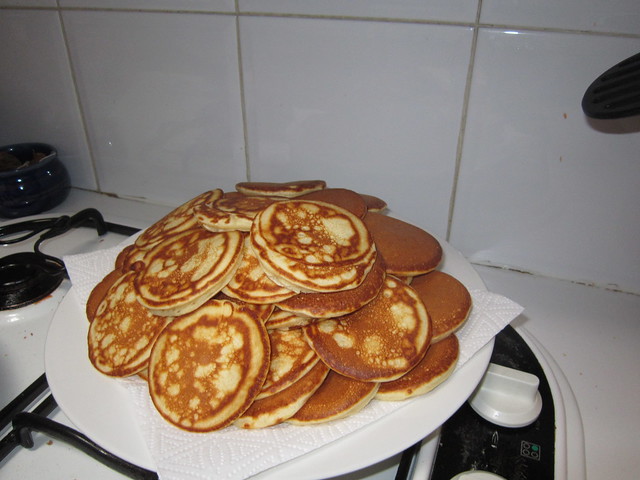
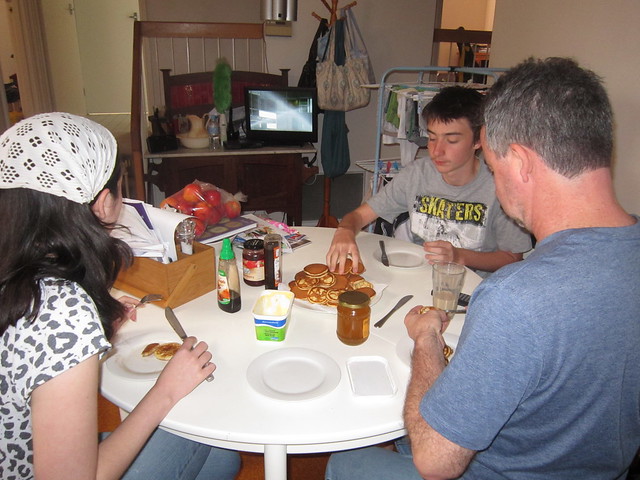
Serve to a waiting ravenous crowd. Serve with your choice of topping. For my daughter, thats drowning them in maple syrup and eat them with a knife and fork. Hubby and son are more traditional, with butter and honey, jam or golden syrup.
BTW: That enormous pile is a result of me doubling the recipe, and there were still none for my lunchbox. *sigh*
Or alternatively ….. how to send yourself bonkers by diving off the deep end.
As I have said before, this year is the year of sewing for me. Â To that end I sent almost all my baby fabrics to my sister (sigh .. and then promptly bought more). Â In particular, I pared my nappy fabrics down to a single container, as I am pretty much over the things now. Â I have committed myself to making a new set of “ninny jocks” as N#1 calls them, hence the purchase of new kids fabric. Â But, this top for me has been waiting to be finished, and I decided that I had to stop procrastinating, and I wasn’t allowed to sew the jocks until the top was finished. Â Â Pattern is the Ottobre 02/2010 – Design 11. Journal -Tunic and Dress combination.
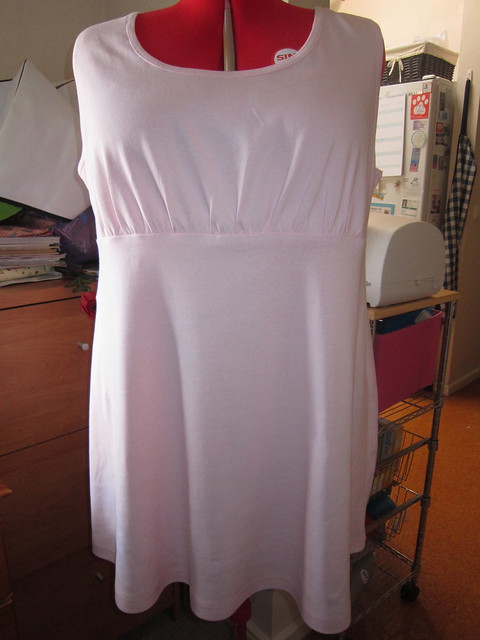
First the dress (fabric Baby Pink California Knit – from CraftyMamas) – a very simple design, except Ottobre seem to be in love with using lastin (clear elastic) for just about everything. Â After unpicking my first attempt, I gave up and went back to gathering the way I have been for the last 20 or so years. Â The neckline and armholes were supposed to have the same elastic to support them, but I used my new cover stitch machine to bind them.
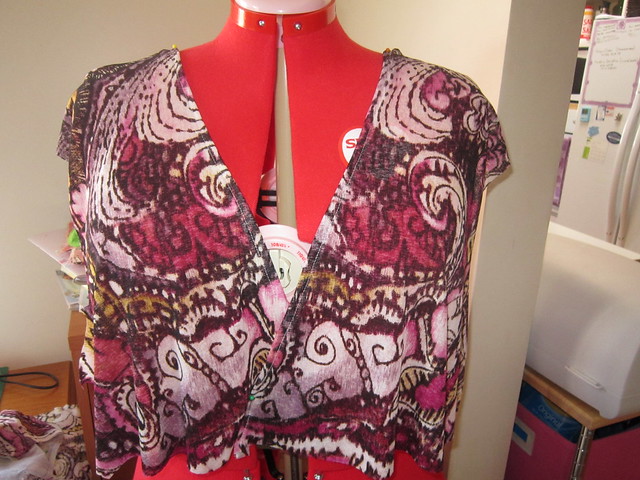
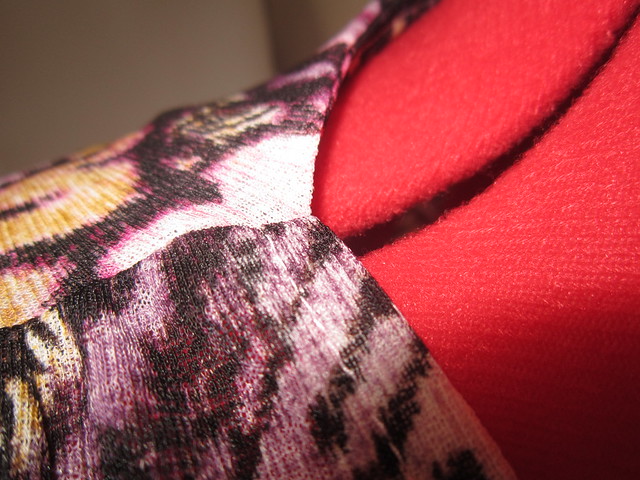
Next the tunic (fabric Toptex Sheer Euro knit – from CraftyMamas) – Again a simple design, and except for the fixation with lastin, very easy to make. EXCEPT if you are trying to use a sheer, slippery fabric for it. I couldn’t coverstitch, as the fabric just couldn’t take the tension, no matter how I fiddled. Same goes for zig zag on the regular machine. Overlocking was ok, but tended to ripple. So the neckline especially, needed support. I grabbed some of the sew in interfacing that I use for tracing, and overlocked that on the edge, turning up for the hem, and then trim back the interfacing to the seam line. This produced a very neat finish, with no stretching out. The neckline feels firm and secure, and sits great against my torso …. so a win there.
The front of the neckline is a hemmed finish, but the back is faced. The technique to put them together is one I used ages ago, and I was dubious about it, but the finished result was great.
Next, gathering the bodice to the skirt panels. Here again, Ottobre wanted to use lastin, but I learnt my lesson ages ago, and just ran a couple of gathering stitches. I think you get a much more even result, certainly it is much easier to control the look of the finished product.
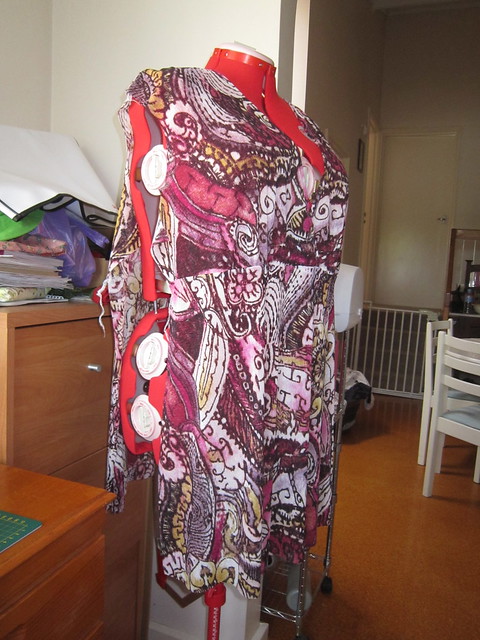
And finally the finished product. I was concerned that the shoulder seams were further back on my shoulders than expected, until I went and had a look at the magazine, and that is actually the way it was designed rather than a mistake of mine. That was a relief. The pale pink under the sheer makes the fabric look a bit muted which isn’t a bad thing. The design is quite flattering for a big person, and the use of an A-line skirt panel rather than a gathered rectangle lends a bit of elegance that is often lacking in plus sized clothing. This is an item that I will definitely be wearing.

I have been promising myself more sewing for me, and while I am succeeding, I am finding it hard as I am not a pattern perfect shape. This top is the second try, with the first being too big in the shoulders and over bust area. This one fits better, but it still sits funny. I think that I will need to take it down another size, although the body panels are perfect. I am seeing more and more, that I need to get myself a dress form in my size, as fitting is a major hurdle in my sewing.
This is my desk.
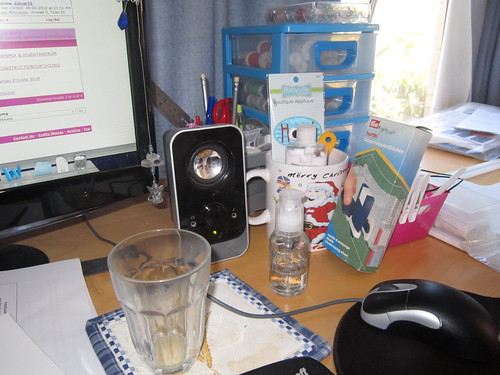
Its not a particularly inspiring desk, and tends to collect things, like empty glasses, bits of paper, a burda line marker, dust and apparently, my daughter’s straightening gel.
But …. can you see the paper crane?
No? How about we look a little closer?

Maybe a little closer?
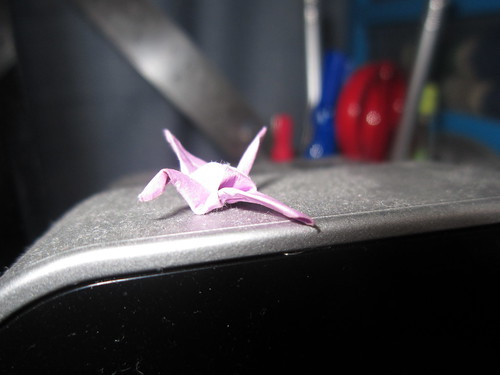
My daughter seems to be able to make these in her sleep, and the tiny ones are the most amazing. This is made from the smallest post-it note you can get. Honestly, the child has too much time on her hands.
I don’t do fruit.
On the dining table, is a fruit bowl. In there is usually apples and bananas, since they benefit from not being refrigerated best. In the fridge is a half a pineapple, a bag of nectarines, a bag of grapes, and a very tangy pink grapefruit.
As I said …. I don’t do fruit. As much as I need the potassium, the prospect of just picking up a banana, peeling it and eating it …. well it makes my tummy turn a little, which I am quite aware is ridiculous. Same goes with pretty much any whole fruit. I adore mangoes, but I have to be in the right mood to actually eat them.
But ….. I am a sucker for any fruit salad that does not include melon of any kind. So tonight I cut up the above fruits (except banana which goes manky), and plonked it into a huge container. This I will dip in for dessert and daytime snacks for the next 4-5 days or so. I have no idea why having it cut up and mixed together makes a difference, but it does.
It seems such an easy thing to buy, that most of us don’t even think about recovering our ironing board. But really, if you have the fabric, and the skills (not that its complex to do), then why not be like our mother’s, and “make do” ??
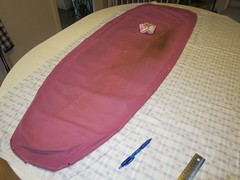
So ….. lets get started! First, take the old cover and padding off the ironing board. As you can see I have used the old cover and padding to trace the top fabric and batting. Appropriate fabrics could be 100% cotton, drill, heavy chambray or even denim. For the padding, quilt batting is good, I used insulbrite but its not essential, and an old woollen blanket is the usual standby.
 Â Â Â Â Â Â
With the benefit of hindsight now, I would recommend that you don’t use the old cover for this. Age and constant stretching mean the cover is misshapen, and the padding shrinks from the steam of the iron. I would recommend you instead place the naked ironing board upside down onto an old sheet, and then trace around the exterior. Use that outline to cut the padding, and then add about 3 inches all round to get your top fabric outline. The result will be less wonky.
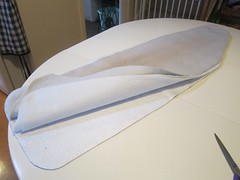
Place your padding on top of the board to check placement. See what I mean about wonky shaping at the two ends?
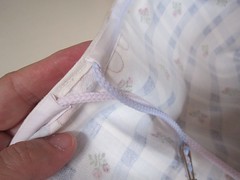
Next, open out one side and pin on some bias to the right side of the top fabric, leaving a gap at the squarish end. Sew along the bias, just before the crease line, about 1/4 of an inch. Turn the bias to the inside and sew again close to the folded edge.  You could just turn under the edge and hem, but this method appeals to my inner obsessive, and I adore a neat edge.
 Â Â Â Â
    
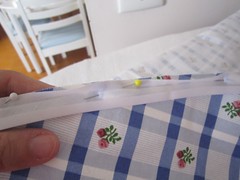
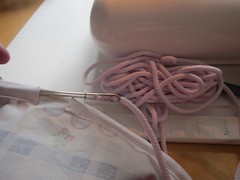
If you use wide bias you can then use a baby safety pin to thread your cord. I didn’t, and thank god I had a bodkin, otherwise I would still be threading with a tiny safety pin. Pull the cord all the way around the edge of the cover (preying you don’t slip the cord out of the pin, and therefore have to pull it out and start again). Here you can see the gap I left at the start and finish of the bias.
 Â Â Â Â
Thread the cord through the cord toggle (some sticky tape on the ends helps here), and then tie a couple of good firm knots.

Place onto the board, pointy end first. Take your time, and pull up the cord little bits at a time. You may need to put your hand underneath and pull the padding into place at the pointy end, as it will tend to slide down as you pull on the new cover. Pull it as tight as you can, distributing the gathers as you go, until its firm and not inclined to slip around.

Look underneath, and check that its not sitting more on one side than the other.

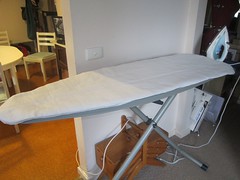
And there you go …. you have successfully recovered your ironing board. You have saved money, done wonders for the environment, and added more to your sewing cred.
Only a bit over a week, and then its back to the daily grindstone for me. I am enjoying the holidays, but tiny part of me is getting teensy weensy bit bored. If I could eat chocolate, I would have had her subdued by now, but alas … chocolate is not allowed.
But …. This holiday has been a productive one for my sewing. I have been working on baby gifts for a group of preggy ladies in my life (is this something like a virus …. you don’t get it alone, you have to spread it around?). I finished one last week, as she was due this week. So here is what I made for her
A nappy bag, happily(?) modelled by my goofy husband.
 Â Â Â
   
Bibs and burp cloths
 Â Â Â
   
And a muslin – 130cm x 130c … a much more useful size than the store bought ones

In addition to the baby sewing, I have been trying to make other stuff. Inspired by an online forum, I decided to make my boy a pencil case for the new school year. He chose the fabric from my stash, but firmly resisted any attempts by me to “tizzy” it up, declaring that plain black was just fine for the inside. My boy is growing up I think.

I figured while I was making his, I would make a couple of things for my niece, using this fantastic skull fabric I just picked up …… I may use the scrap left for myself … it is so funky.
 Â Â Â
   
This isn’t everything I wanted to achieve this holidays, but its getting close.
