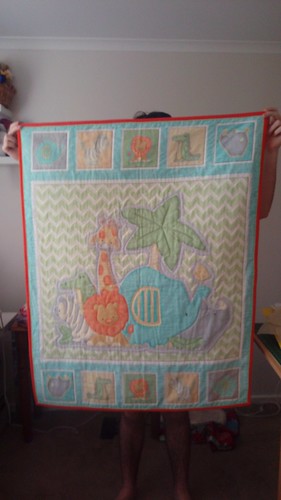
This is a gift for a work colleague, who is pregnant with her third child.
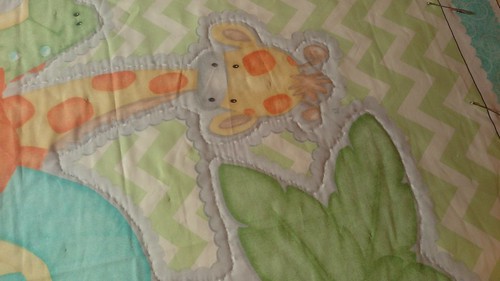
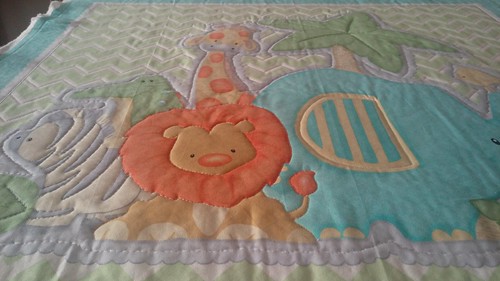
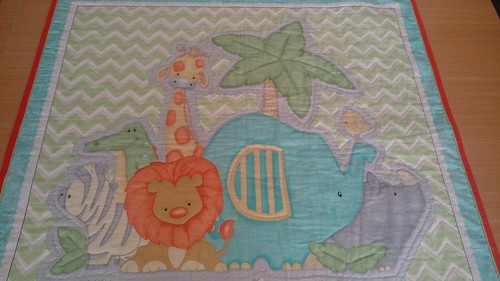
The panel was a purchase from my local Spotlight (Aussie equivalent to Joanne’s) not the best quality, and slightly off grain, but cute. My standard quilt MO is straight lines, or wavy lines. However, as I hadn’t done any piecing, I though maybe I should make a bit more of an effort. The animals in the centre have a white on grey dotted outline, obviously meant to mimic hand quilting, so I started by adding an extra layer of batting in that area, stitching *, and then trimming the second layer of batting back to the stitch line. (apparently there is a name for this, no idea what). Then … I followed the zig zags, and outlined the frames.
*yes ….. I actually did some free motion quilting, but I am not a quilter
Looking at the quilt, I realised that a simple outline on the animals wouldn’t be enough, as the space in the middle exceeded the quilting distance of the batting. So I whacked the FMQ foot back on, and set about highlighting the outlines on some of the animals. This actually turned out better than I planned, and I can see that practice will help the evenness of my stitches.
The end result is a slightly puffy centre to the quilt. However because I use 100% cotton in all my quilts, the loft isn’t all that significant. I think its more a texture effect.
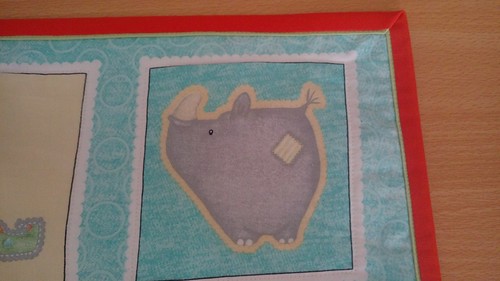
Next is the binding. I decided to try flanged binding (Missouri Star Tutorial here ). Binding is orange, with the flange in pale green. It worked out ok, although I had been sewing the entire afternoon by the time I got to the binding, and in hindsight, should have left it to the next day. I ended up unpicking, and restitching at one point, as I had a tuck in the binding that messed with my mind.
So quilt is finished, and tucked away in the present box ready to be wrapped and taken to work. I think its time to switch back to clothing for a while.


2 Responses to Animal Quilt – baby gift quilt