One of the most tedious things about sewing from PDF patterns is laying out and taping the patterns. Often you are left with a huge piece of tacked together paper, that will not fold well. And, once the entire thing is taped together, you have to go through the whole process again, to trace the pattern, because copy paper is rarely great to pin to fabric. Yes you can get a pattern printed in A0, but I often want to jump straight into a pattern, not wait till I next have time to get to the printers.
Last weekend I taped together a craftsy pattern, and that was a tiresome exercise. I thought there had to be a better way…… especially when I tried to fold the blinking thing back up. Then I remembered someone commented on a topic somewhere, about tracing each page individually, skipping the taping. I had no other directions, but I decided to give it a go.
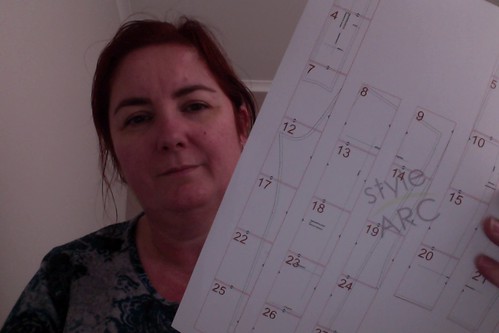
Key I think, is if your pattern has a layout guide. This tells you which pages go where.
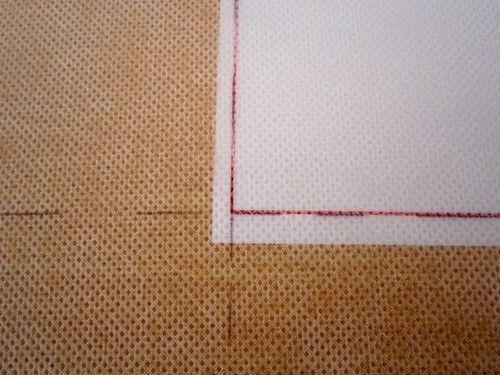
Then, start at your top left page, and place it at the corner of your tracing material (I use Trace’n’Toile, but you could use interfacing or any other type of material you can see through). Trace not only cutting lines and markings, but also the cutting edge of the page (I used dashed lines).
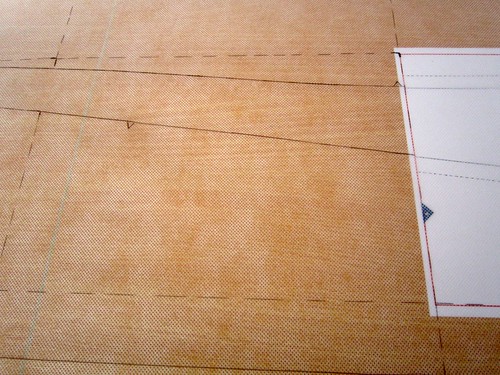
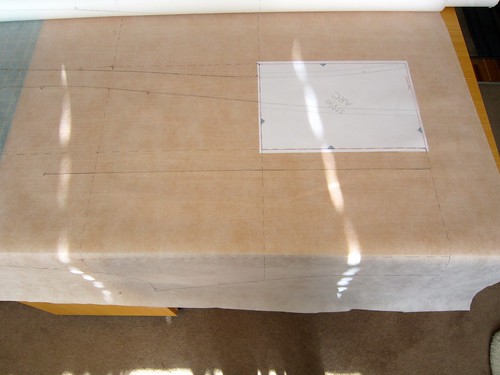
Continue, lining up subsequent pages with the page edge lines, and the patterns lines as well. Remember to mark what the piece is, and any grainlines as well.
Your pattern will be interspersed with dashed lines, but as long as you don’t use those to indicate other parts of the pattern, they should be easy enough to ignore.
NB: I traced the pants legs in two parts, but the edges are marked with dashed lines, so I can line them up and sew them together, or just layer them when pining to fabric.
Best of all ….. a very tedious step has been totally removed. Yay!


4 Responses to Tracing PDF’s