Way back, early in my sewing journey, I made clothes primarily for my daughter Naomi. She was a long thin baby, and a long thin toddler/child/teenager. I made clothes for her, simply because all I could ever buy for her, either hung off her like sacks, or stopped short of ankles and wrists. Included in this catalogue of leggings, dresses, tracksuits and formal dresses, was costumes. For a while there, I was producing 2 completely different costumes per year (book week and children’s day – a weird Qld thing), because you can’t wear the same costume twice.  It was a great way to stretch my sewing boundaries, tackling interesting fabrics like satin, mesh, chiffon, organza etc. But, I thought my costume days were done, when she hit high school, and then adulthood. Of course I still sew for her occasionally, but it tends to be “normal clothing”.
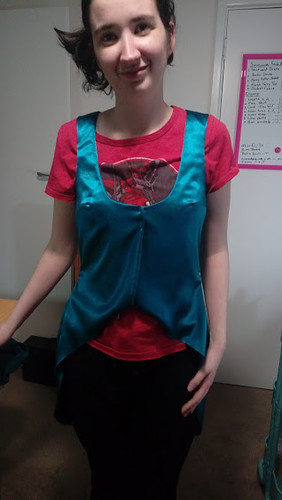
This year, she has been teaching for an extended period at a particular school, and her stint corresponds with book week. The theme is treasure, so I offered to make her a simple pirate costume she could wear. At first I considered using a pirate wench pattern I had, but I quickly realised that it was sized for me, and therefore would swim on her. With no vest patterns in the stash, my only other option was to draft from scratch. This I did with the aid of a fantastic 80’s longline vest she had in her wardrobe. I rubbed off the basic shape, redrew the dart using an FBA technique (she doesn’t need the FBA by the way, this girl DID NOT get her genes from me), and shaped the neckline and cut-away front. Considerations for the design, were that it was easy to move in (not too tight) and that we had nip coverage. She works primarily with special needs children, and so the underbust corset style of vest would be quite inappropriate.
Using a truly terrible piece of polyester crepe, I muslined my first try. Naomi has one dropped shoulder, so I had to factor that into the design, so that the bodice would sit well.
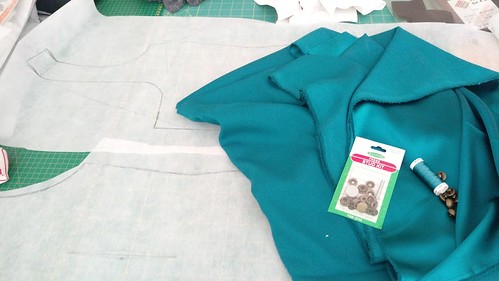
I made changes, muslined again, and it seemed to be ok (remember that this is a costume, and really doesn’t need a lot of finesse). Next, was fabric choice. The agreed on colour was red, and since I had nothing suitable in the stash, it was off to the fabric store. Now a sensible sewist would choose something firm and easy to sew; something like drill, canvas, or perhaps sateen. Something with a firm hand, and little likelihood to stretch inappropriately. Yes, well that went out the window, when I spotted the teal satin backed crepe. Teal is her all time favourite colour (I am more than fond of it too). So, teal it was. With brassy buttons.
Next was an extended thought process, around construction method. The “quick and dirty” choice would be bias binding around the neckline and armholes, turned all the way to the inside, and then stitched down. But I was aware that the fabric could be mobile, and it may result in a crappy finish. Plus the centre fronts would need supporting for the buttonholes. I contemplated just facing the neckline and CF. In the end I went with an all in one facing, neckline, armholes and CF, pulled through at the shoulders. It was tight but manageable. Encountered my first hiccup; the darn fabric didn’t like holding a press, and the curves were too tight for understitching.
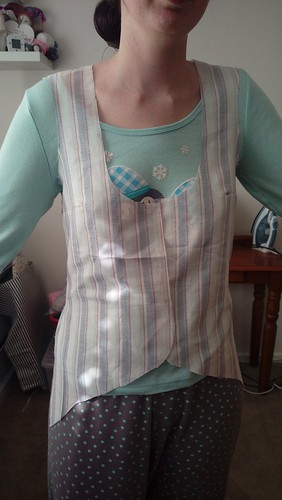
One of the many, many try ons for fit.
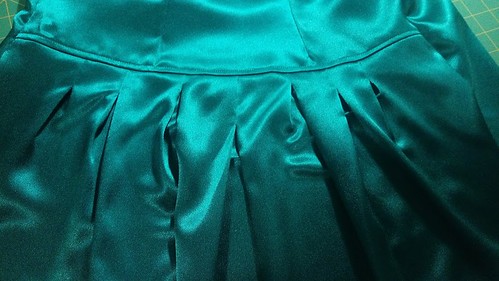
I had planned from the start, that the fronts would sweep down at the hips, but that the back skirt would be a seperate piece at the back waist. I had planned to slash and spread the skirt section, to create a circle skirt, but Naomi asked for pleats. So I cut the pattern across the back waist (well a bit lower), and then added a butt load of width, which I took up with pleats. I stitched the pleats the lazy way, stitching a line down from the top edge, folding the pleat flat at the back, and then basting. Once the skirt was attached, and topstitched, I unpicked the line of vertical stitching. This means that none of my pleats overlap, or have mm gaps. Its lazy, but effective.
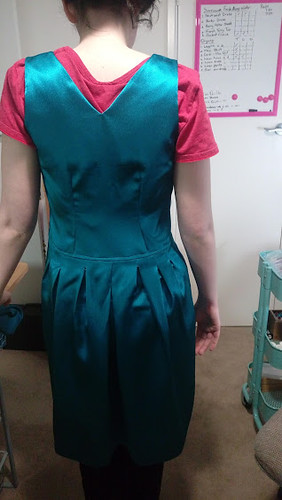
In this process, we discovered that she has a short back (so the back should have been shorter), quite a sway back (the darts helped, but a CB seam would have been good too), and that while her ribcage is small, she is broad shouldered. I breed ’em weird.
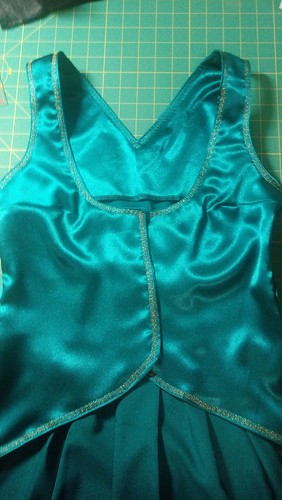
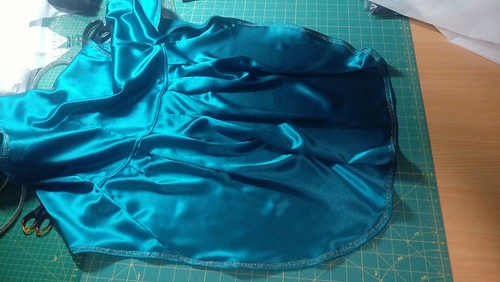
Next was finishing. Tammy (my sister) suggested topstitching all the edges in a decorative stitch (she was right in the middle of appliquéing book week costumes for her boys, so was inspired). Being teal, my thought was either black or purple, both which look good on teal. Naomi however wanted gold. We chose a stitch design (a blocky spiral, a bit aztec-ey), and then I started stitching with gold metallic embroidery thread. I expected this to be a trial, for it to knot up and shred, and for the fabric to move around and just generally be an arsehole. The sewing gods were on my side for a change. The overlocked edges kept the seams stable, the thread didn’t break once, and the whole thing took me far less time than I expected it to.
Even the curved sections of the hemline cooperated. You can see the join of the fronts to the back.
Buttonholes and buttons were added, and a bandanna was hemmed. Next I followed an online tutorial, and used an old business shirt of Tony’s to make the peasant undershirt. It was just cut off at the yoke/shoulders, edge hemmed, and a strip of elastic sewn on. I also cut off the cuffs, and added a row of lace. In hindsight, it could have been gathered but Meh!
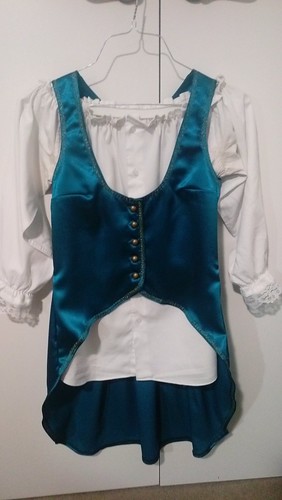
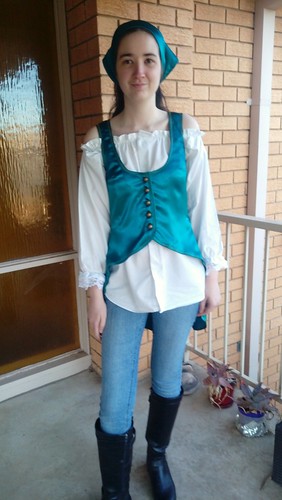
And the completed outfit. 4 solid nights of work (Tony and Nathan did cooking duties to give me time) and a couple of missed tv shows.
